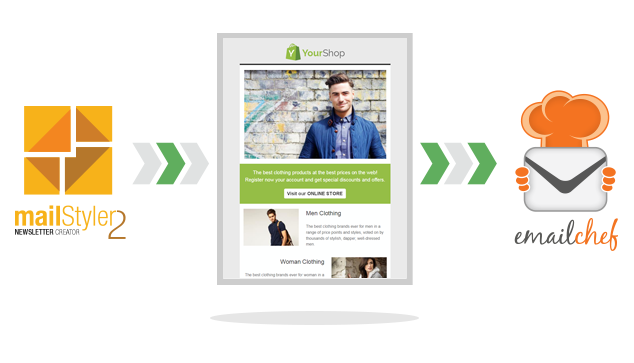
Once you have prepared the template with MailStyler 2, you’ll need to export it and use it with a bulk email software, or the email marketing platform you’ve chosen. MailStyler allows you to automatically upload your templates to your eMailChef account: eMailChef is the email marketing service that balance professional features with its affordability. To upload your templates, simply follow these steps.
Once you have finished your template, click on the “Export” button. You will find four options:”Export HTML”,”Export PDF”,”Export to SendBlaster 4“,“Upload to eMailChef”. By clicking on this last option, MailStyler 2 will quickly verify that the template contains the basic info for privacy and the CAN-SPAM Act: if you didn’t add them, MailStyler would prompt you to do so. The lack of such information, anyhow, will not block the export of the template.
At this point, MailStyler will open a pop-up window where you have to enter your username and password to upload directly to eMailChef. You can store your credentials. Thus you won’t be asked to d so on the next occasion.
Once you click “Continue”, MailStyler will ask you whether to load the template for a campaign or an autoresponder. You can create a new campaign directly from this window, or select one already in drafts; in the same way, you can create a new autoresponder or use a drafted one.
You’ll need then to set the quality of your template images. You can also calculate the weight of the template itself: we recommend that you never send a newsletter too big! From this last window you can then upload the template: depending on its weight and the speed of your connection, MailStyler will upload the template directly to your eMailChef account.
What happens if you don’t have an eMailChef account? You can create one in the window where you can enter your login credentials. MailStyler will take you to the homepage where you can sign up for a free demo, and you will be able to create an account in a few minutes.


