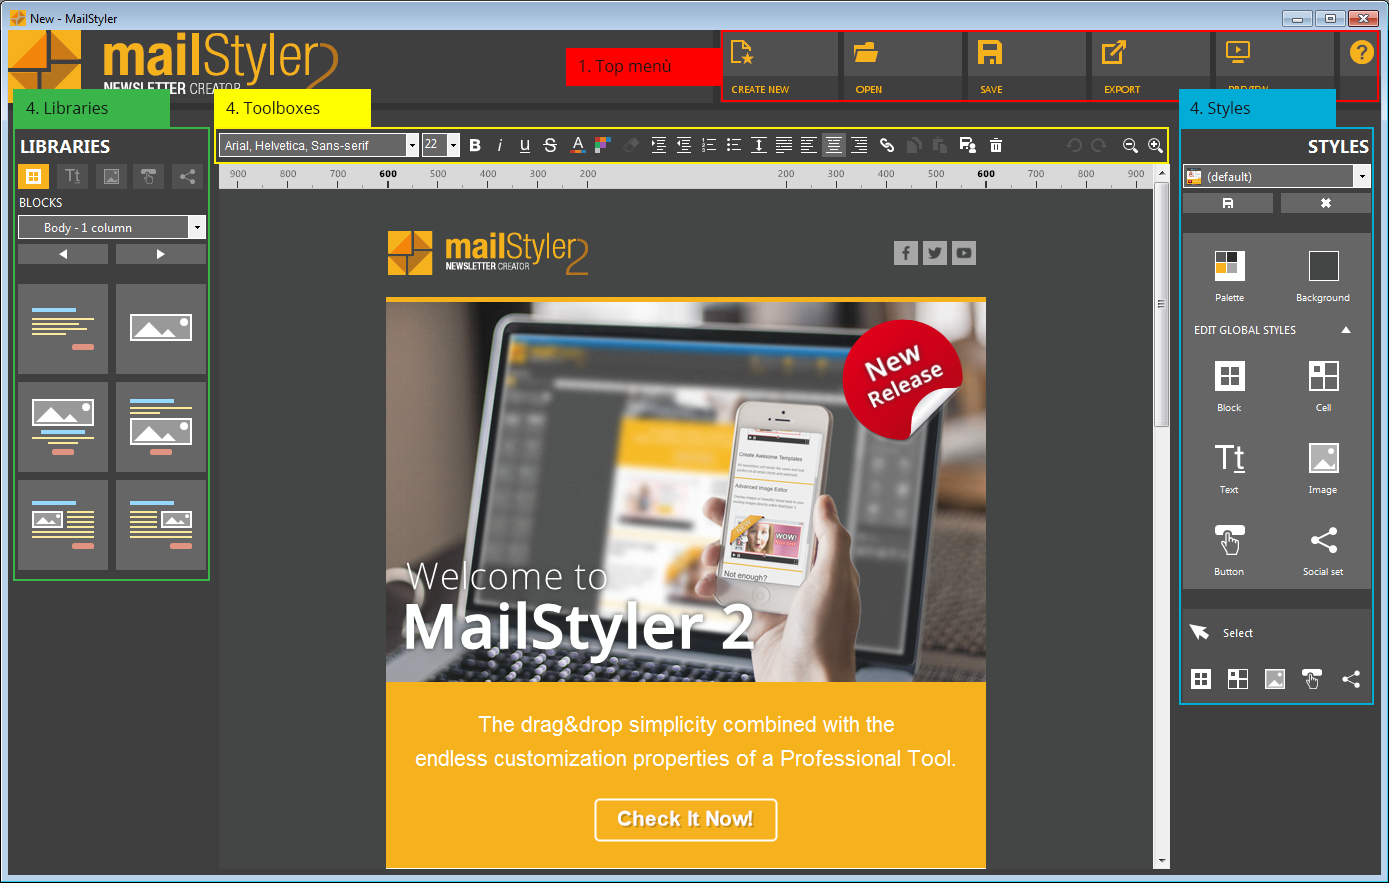
MailStyler's window is organized in 5 main areas:
- Top menus: this is the top area where 6 menu-like buttons are displayed, enabling you to access the features that deal with loading ad saving files, previewing, preferences and help.
- Toolbar: it contains the main tools to operate on selected items as text, images, buttons, social icons panel, cells, blocks, and links. Here you can also manage the delete /copy commands and the zoom level.
- Libraries panel: here you can select, browse and manage the items libraries that are used to compose the newsletter. From here, you can drag in the edit area the elements you need and build the template.
- Styles panel: is located to the right of the screen; From here you can change the global styles of the elements that make up the newsletter.
- The content editor: the central area where you can create and edit the newsletter.
| MailStyler main window |
|
| Click to enlarge |
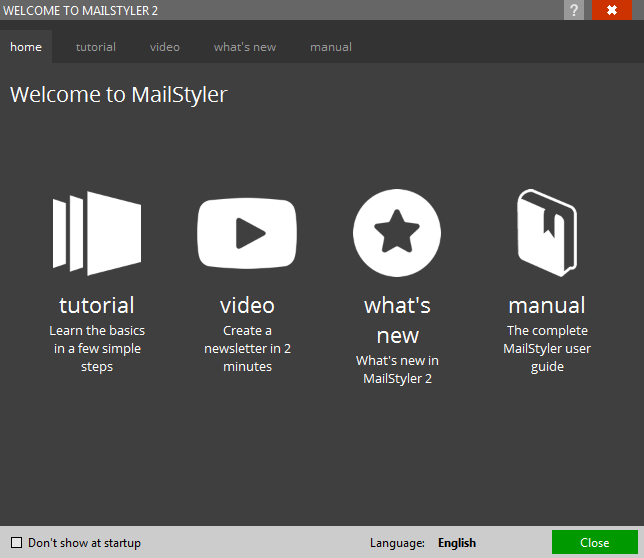
When you open MailStyler for the first time, a welcome screen is displayed. In this window you will find a short tutorial, a video, and a link to this guide.
| MailStyler Welcome screen |
|
| Click to enlarge |
Click the Don’t show at startup option to hide the Welcome screen when MailStyler is run.
See also
Top menus
The toolbox
The block panel
The style panel
Block selection & editing
Cell selection & editing
Image selection
Button selection

